Saturday, August 23, 2014

A Tutorial: Stitching With "Paint"!

This blog post is a revised or extended version of the last one I wrote in January.  Turns out, I have not written any further posts since January.  Too Busy!  But I have managed to post lots of times on Facebook about what I'm working on.  These FB posts have generated a lot of interest about my work.  And lots of questions.  To answer them...I decided it was time to re-write my previous blog post.

So..anyone who knows me and my work, knows I have no qualms about adding paint to already stitched pieces or stitched areas.  I learned a long time ago, that if you don't like the way a stitch or even an entire finished piece looks...wrong color, not enough depth, etc...just add a bit of watered down acrylic paint!  Or pastel (artist's chalk) pigment!  Or watercolor!  Or colored pencil!  No pain, no gain, ya know!

This last year, I added some beautiful and fun ribbons to my wholesale line, which is distributed by Sundance Designs.  These are not the silk ribbons that have been seen in the needlework market for a long time now.  I LOVE silk ribbons and love the beauty and ease they enable for adding spectacular effects on a stitched piece of needlework.  So, when I saw these ribbons that were being used in the clothing market, I was intrigued and wanted to give them a try on canvas. 

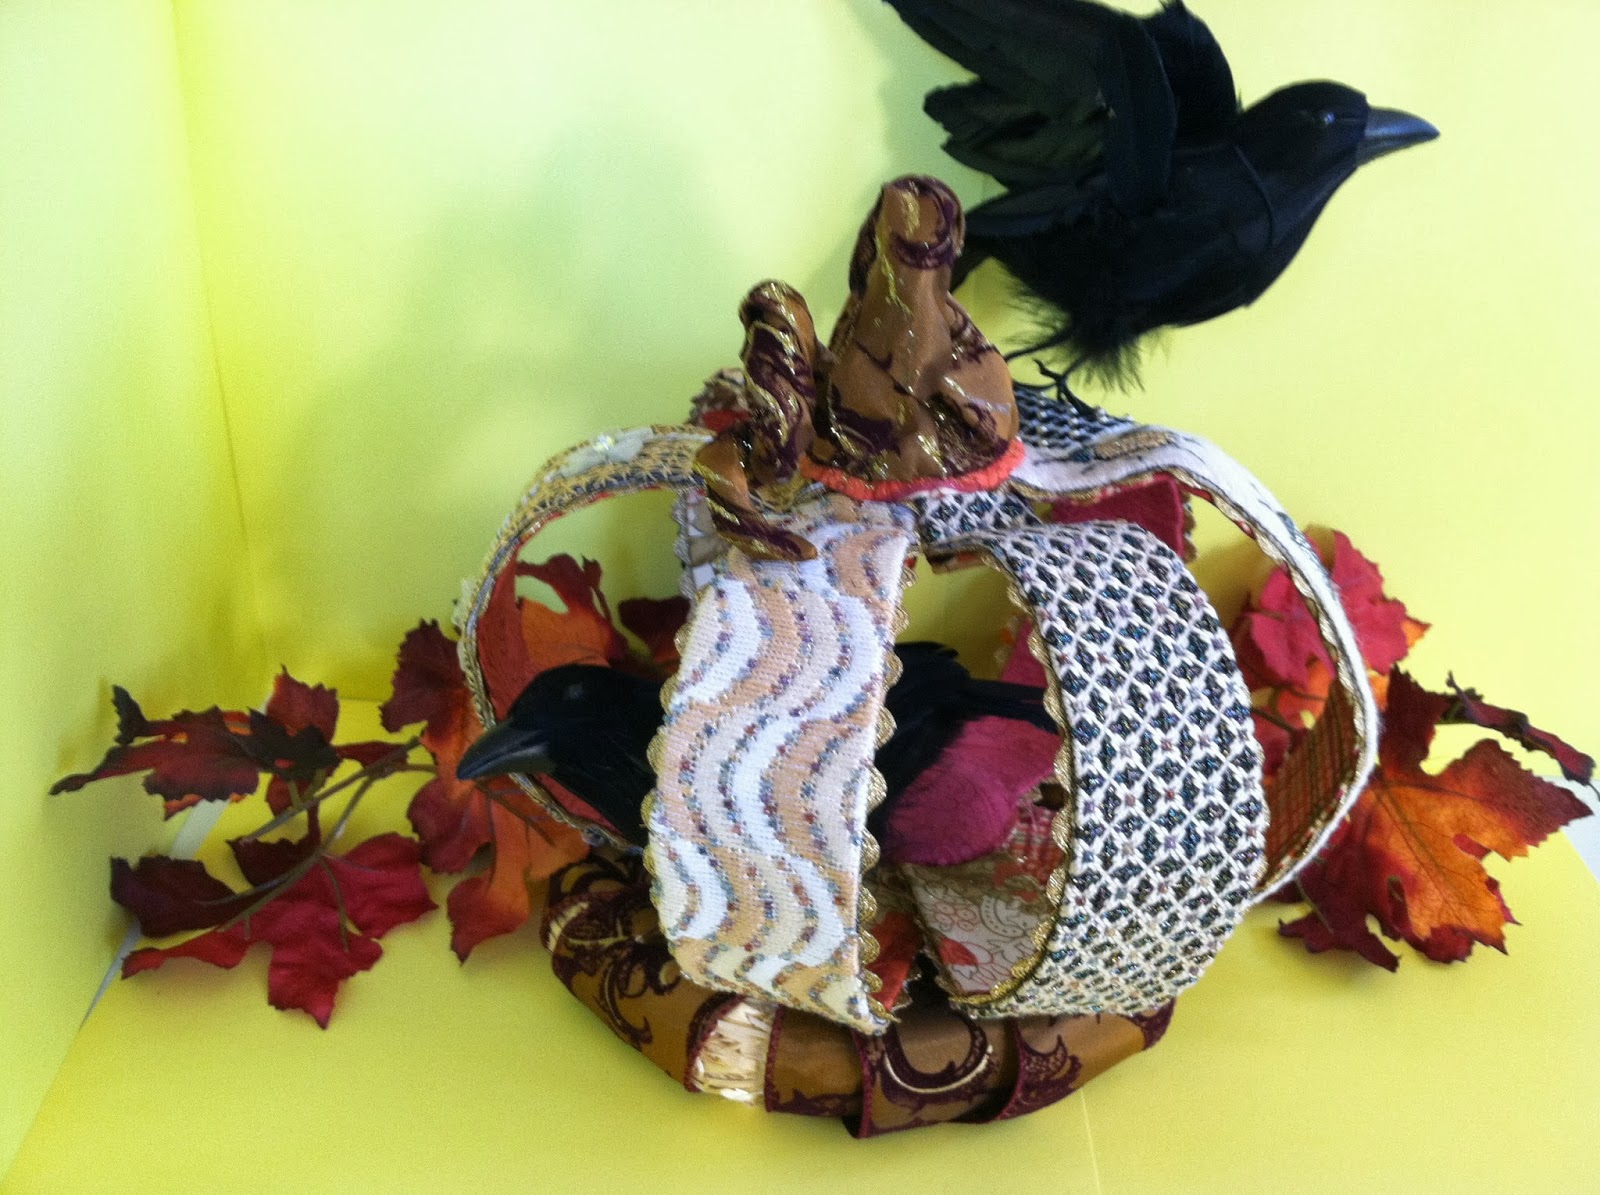
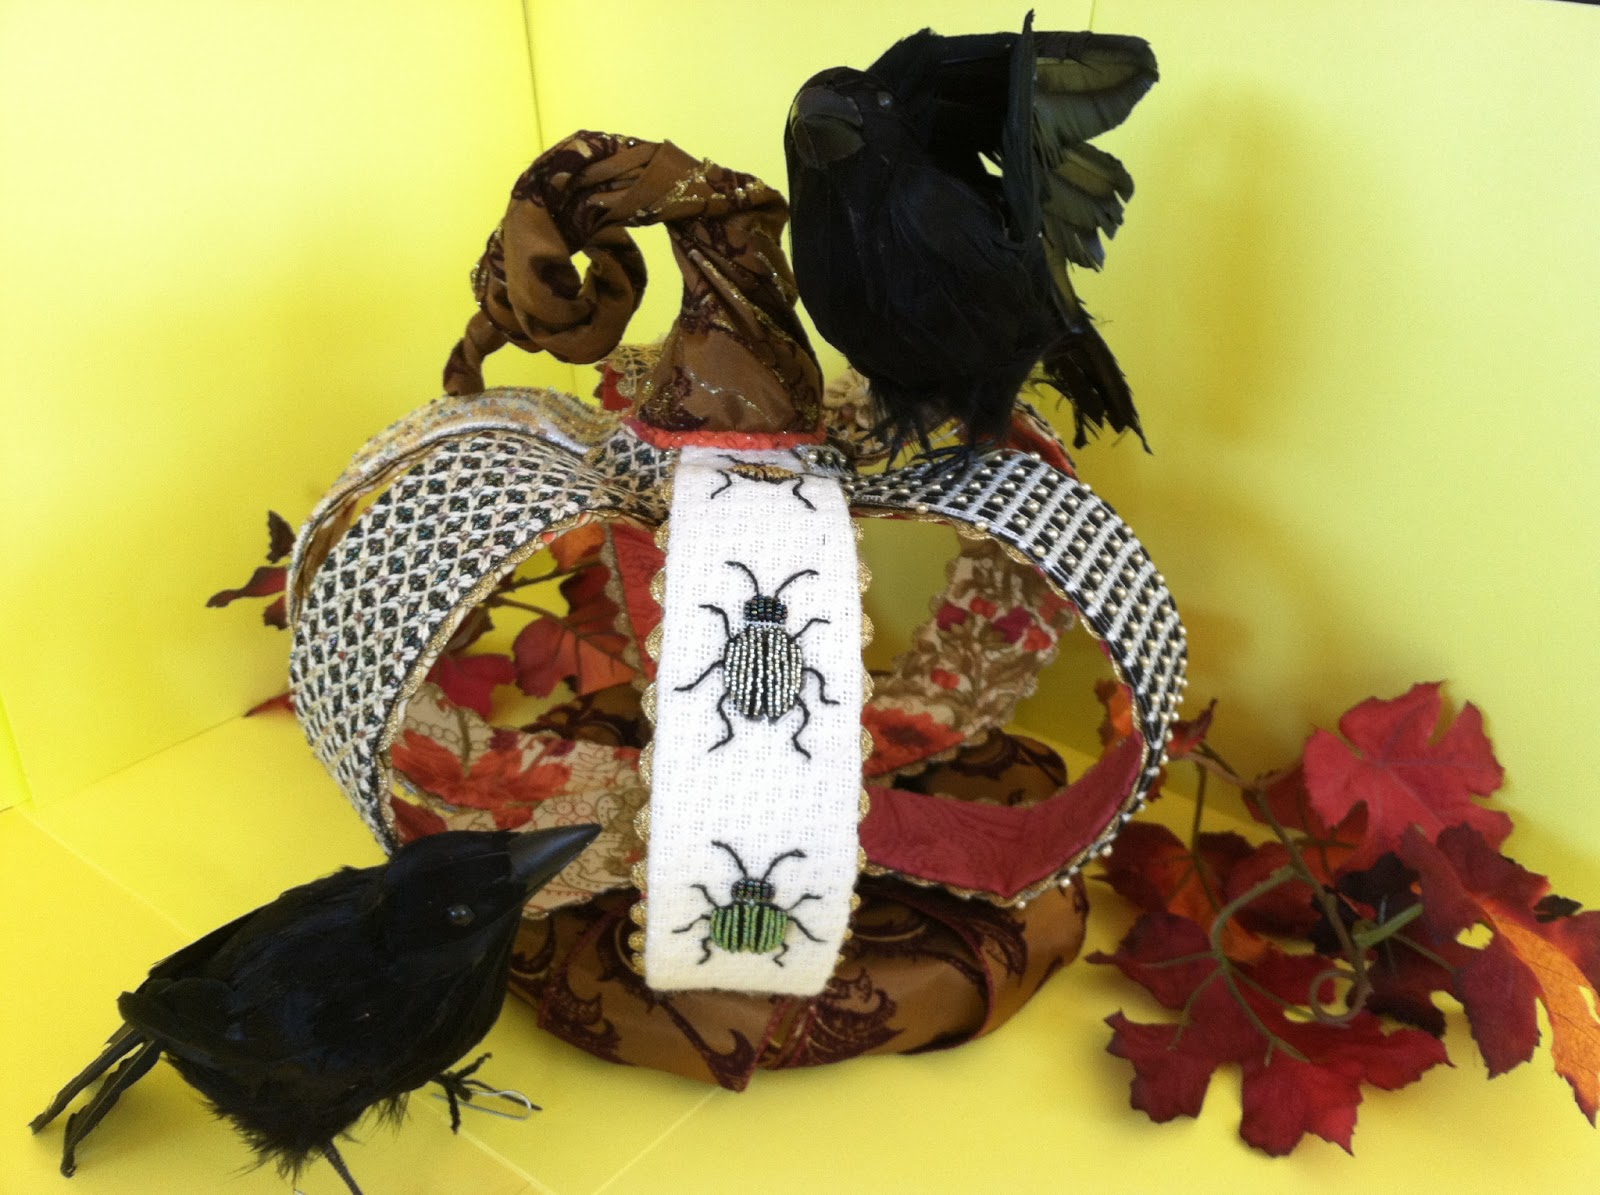
YAY!!  They worked out fabulously well, and I am so enjoying them.  I now have 3 types of ribbon:  Stitchy Ribbon, which is a 5/8" wide stretchy elastic with a satin finish; Glitzy Ribbon, which is 3/8" and has a glitter finish which does not rub off!; and Retro Ribbon, a 1/2" wide textured rayon ribbon that is quite thin so it can be used like any silk ribbon!  They all come in lots of colors and I'm still experimenting with how to use them.


Recently, I decided to tie dye some of the Stitchy Ribbon..to see what would happen.  Well, what happened was AMAZING!  My color vibe, located in my brain, flipped into overload and high gear and have been dyeing and stitching for the last 3 days!  This is a very HAPPY experiment and I'm definitely marketing these at the Dallas Market next month!  There are not enough hours in the day for me to try out all my ideas with this painted ribbon, but can I just say that I have only nicked the tip of this iceburg?  That would be the beautiful crystal clear moutain of white ice that turns turquoise deepening to sapphire and deep purple under the salty green ice cold waters!


Some people on Facebook have been asking how to use this ribbon.  The methods for all the types of ribbon is the same, so I'll give you a little tutorial.  But first, a word about these painted ribbons in particular---they may or may not be colorfast.  I'm not going to test them.  Be warned!  And that said, I do not recommend using them if you wet block your needlepoint or plan on washing or getting it wet in any way.  Yeah, I know....WHO does that these days?  Well, there are some out there who do, just say'n....

To use my ribbons you need: 
                                                1.   A nicely tapered wooden laying tool.
                                                2.   A size 16 Tapestry needle.
                                                3.   A bottle of Fray Check 
                                                4.   Really nice sharp scissors that cut well.
                                                5.   A sewing needle.
                                                6.   An active imagination!

For Stitchy Ribbons, Painted Ribbons, and Glitzy Ribbons

Step one
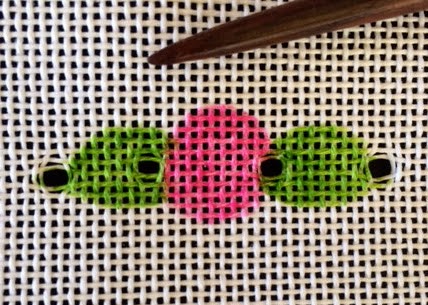
Enlarge a canvas hole by gently twisting the tip of the wooden laying tool into the hole, going deeper and deeper.  Hold the tool straight up and down and don't twist side to side.  Make a 'larger than you have ever made hole'!  (The tension between wood and canvas fiber reduces the possibility of a canvas thread breaking.  But even if one breaks, no worries!!  I'm serious!  It will not be a problem because it will not show when the fat ribbon is inserted!)  The samples below are on 18 mesh canvas.


NOTE:  Step one is only necessary if you want to insert the ribbon into the canvas.  Ribbon can also be worked entirely on the surface, so you will have to decide if this step is crucial or not, for what you are trying to achieve.  Below is a photo of a flower that is being created entirely on the surface.  I attached the end of the cut ribbon (which I folded in half lengthwise) with a few anchoring stitches using 1 ply floss.


Step two

If you want to bring the ribbon up through a hole...
Insert just the TIP of a cut end of ribbon into a size 16 Tapestry needle.  You will either plunge the ribbon into the hole, or bring it up from the back of the canvas, leaving a short tail on the back, in either case.  No knot is needed.  The width of the ribbon will keep it in the canvas.  IF YOU ARE HAVING TROUBLE bringing the ribbon through a hole, the hole is either not large enough or you have too much ribbon in the eye of the needle, or BOTH.  It will emerge through the hole easily if you have done as I described. 

This photo illustrates how I made leaves on one particular canvas.  The ribbon was essentially a long straight stitch!  I further embellished the ribbon with other stitches later, to create veins and add other interests.

NOTE:  If you are using Retro Ribbon, you do not need to enlarge the canvas hole very much, if at all.  You can also put a knot on the end, as you would with any silk ribbon.  Use a size 22 or larger tapestry needle for use with Retro Ribbon unless you are gathering it.  In that case, you would use a sewing needle.

Step three

When you make flowers, use a sharp sewing needle with 1 ply floss to match the ribbon.  You will be creating gathers by making running stitches down the center of the ribbon.  Make about 5-6 small running stitches, gather the ribbon up and then take an anchoring stitch into the canvas.  Come back up into the ribbon and repeat, circling around until the flower is the desired fullness.  

Here is a flower being created with Stitchy Ribbon~
I will either plunge the end into a canvas hole, or perhaps, just tuck the end under and stitch it to the canvas.  


Here is a flower being created with Glitzy Ribbon and a sewing needle.  It is not being gathered, but the ribbon is brought up through holes and plunged down into holes for each petal, winding around from a central starting point.  The sewing needle and floss hold the petals in place on the canvas with a few well placed tiny stitches.  Be aware that you can make the ribbon hold any shape with a tuck here and there with a sewing needle and thread.

Here is a gathered rose created with two colors of Retro Ribbon.  The ribbon was gathered with small, even, running stitches down the center of the Retro Ribbon. 


Finally, here is the Ranuculus, created from the Painted Ribbon.  I very slightly gathered the ribbon down the center of the wrong side, keeping it folded in half so the satin side displayed.  The gathers allowed it to go around the curves, but I kept it basically flat as I encircled the round shape with closely placed rows of the folded ribbon, open edges on top.


A few other tips:
Fray Check will become a useful tool in your needlework bag 'o tricks!  I apply it to all cut surfaces of Glitzy Ribbon.  Glitzy Ribbon, though a narrow ribbon, is thick enough from which to cut shapes for appliqueing to the canvas surface.  Fray Check will keep the cut shapes intact.  I attach all cut shapes with a sharp sewing needle and 1 ply matching floss.

The individual petals of this little flower were made with Glitzy Ribbon.   The ends of each petal were plunged into the canvas at the center.   The rounded cut edges had Fray Check applied.

This bird's front wing was created with two Glitzy Ribbon that emerged from canvas holes.  The rear one was a simple straight stitch.  The forward ribbon was a 'slightly gathered' straight stitch.


One more word about Fray Check.  You can cut Stitchy Ribbon down the center seam to create two ribbons of smaller width.  Just apply the Fray Check on all cut edges and let dry before using.

Step Four

Get out #6 from the materials list.  Keep it out!
Now experiment!  Experiment!  Become familiar with how these ribbons feel, how they look, and think about how you might use them.  Take a look at your canvas stash and question if you might apply any of these ribbons/ideas on your canvases.  Then DO IT!!  Remember:  no guts, no glory!  And remember too, that using ribbons will make you feel powerful and colorful...a good thing to be!


Sunday, January 19, 2014

See What's New!

Wow!  Can't believe I have been absent from my blog for so long!  No excuses except Life and "all that, plus a bag of chips!"  (I heard a comedian say that on the radio the other day and it made me laugh out loud, alone in my car!)

I am home from attending another great show, the TNNA 2014 Winter Market, this year in beautiful San Diego.   Sundance Designs represents and distributes my work, and I am priviledged to be working with these great friends.  We have a really fun time..always!

Now that I am home, I am getting ready to ship loads of my new Stitchy and Glitzy Ribbons.  Let me tell you about them...

I discovered this ribbon last fall, which is really a lingerie elastic.  I was enchanted by the gorgeous range of colors, the satin finish on one type, and absolutely bowled over by the glitter finish on the other type.   After having such a wild and fun time with Sundance Sparkles, the metallic/nylon tubular material that is so versatile as a canvas embellishment, I just had to experiment with these ribbons, to see if they would also work on canvas.

Well, sure enough!  Yes they do, and Yes, they are equally fun and versatile and create an impact when used on canvas.  They are 'stitchy' and 'stretchy', which is actually a benefit when you use them.  I Love them, and now, I'm marketing them to the needlepoint world.


Here is a little tutorial on using the ribbons on canvas.  There are just a couple things you need to have and to implement when using this material.

1)  Have a size 16 tapestry needle.
2)  Have a bottle of Fray Check.
3)  Have a nicely pointed wooden laying tool. 
4)  Have sharp scissors to cut the ribbon.

First, decide if you are going to use the ribbon as a surface embellishment or if you will be stitching through the canvas with it.  Let's talk about surface embellishment...

This is where you apply whatever you are creating with the ribbon on top of the canvas and attach it by tacking or couching.   So far, I have used matching floss...just 1 ply.

Here are examples:  The yellow rose has been created by rolling the ends a little bit, attaching that to the center of the painted flower, and then, following the seam line down the center of the Stitchy Ribbon, (Satin finish, 5/8th inch wide) attach to the canvas by taking a few running stitches.  This causes the ribbon to 'gather up' and fold up simultaneously, creating ruffled petals.  When you make it as full as you want, tuck the end of the ribbon under and secure it to the canvas with a few stitches.

The leaves on the other hand, are made by taking one long stitch, coming up from an enlarged hole on the back, and exiting into another enlarged canvas hole on the front.  Next, it has been overstitched with floss.  But more about that in a minute...
 

Here, I have cut the Glitzy Ribbon (Intense Glitter which does not flake off, 3/8th inch wide) to make a heart that I have 'appliqued' to the canvas surface.  One can easily cut both types of ribbon, and this is where your sharp scissors are necessary, along with Fray Check.  I always Fray Check all cut edges.  When it dries, it is invisible and no worries about shredding.
Now..about stitching with both kinds of ribbon...
Insert just the tip of the ribbon into the eye of a #16 Tapestry Needle.  If you have more than that in the needle, the bulk of the ribbon is too difficult to pass through the canvas hole, enlarged or not!
Make sure to enlarge the canvas hole bigger than you normally would do...a few tries, and you will soon discover what works for you.  You want the needle/ribbon to easily pass through the hole with no struggle.  If that doesn't happen, either you have too much material in your needle, or your hole is not big enough.   Trust me on this!


 You can make leaves beautifully with the satin finish Stitchy Ribbon with one stitch, perhaps a little gather in the center for texture.
The yellow petals were folded into a triangle after bringing the ribbon up from an enlarged hole.  After the point was created, the ribbon was then plunged to the back in a different enlarged hole, near the first one.  The points were then tacked in place on the canvas. 

This rose was made with numerous overlapping stitches after coming up in an enlarged hole, and plunging to the back in an enlarged hole.   I also folded the ribbon in half, once it was on the surface.  There are many enlarged holes used to make this rose.  But do you see any?  No.  The width of the ribbon takes up all the space of the hole.  If you do see a gap, it is easy enough to take the tip of your needle and gently push the canvas threads closer together.


Another tip about the Stitchy Ribbon:  With sharp scissors, cut down that center seam, seal the cut edges with Fray Check, and now you have two ribbons that are a narrower width.  More Bang for your Buck!

Last...here is a little bird whose front wing is made of Glitzy Ribbon.  When you come up from an enlarged canvas hole, you do not need to knot the ribbon.  The width of both types of ribbon, plus the elasticity, will prevent it from pulling through.  (That is, unless you give it a good tug!)  I have never had to create a knot for either type of ribbon which makes my life easier, plus,  it can lay flat on the back of your canvas!

BTW--I will be teaching this bird canvas, (which is a Sundance canvas designed by Tu-oti), at Chandail, in Houston, Texas in May, 17th or 18th, 2014.  Not sure which day will be this class, but I'm also teaching a  Sparkles Workshop on the other day, so perhaps this is a great opportunity to come learn about all these marvelous new materials and techniques!  I hope I will see you there!

In the mean time...if your LNS has not ordered the ribbon...ask for it!  Your creativity needs it!  I'm certain you will come up with your own methods for using both beautiful ribbons!


Wednesday, October 2, 2013

A Pumpkkin For All Reasons~

I've been waiting for the opportunity to post photos of this FABULOUS stitched pumpkin that a customer of Sandy Bailey/Fancy Stitches in Cleburne, TX created.  The reason this is so special is because this customer, (and sadly, I do not know her name), decided to depart from my original design; the colors and the stitch guide and MAKE IT HER OWN!!

Can I tell you how wonderful that is?  I am Thrilled when someone does that!  It means that they are not afraid to create what their heart and mind tell them to do.  In this case, she took my black and white sculptural pumpkin, painted over the canvas pieces with orange paint herself, and then stitched it so beautifully that all who have seen it have swooned!

Now, let me say that I pretty much love my pumpkin too.  It was a collaboration between Nandra Hotchkiss and myself.  We each stitched 3 of the panels, coming up with the threads and stitches.  Here is what our Sculptural Pumpkin looks like finished.


Our pumpkin, basically all black and white with a little subtle color here and there, is definitely a Halloween pumpkin!  The fabric lining the panels is where the color resides...all bright oranges, reds and fushias.  The black crows have found a home there, making their nest inside of it, along with some autumn leaves.

Now here is the result of what Fancy Stitches Stitcher did with the canvases when she received them.  The finishing was a collaboration between myself and my sister Dorothy.  We each worked on parts of it. 

The fabrics chosen to compliment the exquisite orange stitches are very beautiful, and not at all representational of a particular holiday.  Nonetheless,  this pumpkin is for Halloween, Thanksgiving, AND it can also be Cinderella's Coach!  I'm sure, too, with a little imagination, maybe the Easter Bunny could reside inside come Spring.  If not, Peter Peter Pumpkin Eater will most certainly claim it for his wife and she will love it!


I wish the photos were better, but I hope they have inspired you to take a road you have not considered before.  You may be surprised with the discoveries.  And it may turn out to be better than your original plans! 

Tuesday, September 10, 2013

WELL~ H e l l o K i t t y!

I remember the day, walking though the mall with my little girls, passing this store that made us stop dead in our tracks!  The open door sucked us right in.  Everything was sweet, was pink, was white and black, was adorable.  It was Candy before the term Eye Candy was ever spoken.  We were captivated. 

There were pencils, erasers, bracelets, rings, picture frames, notebooks, boxes, head bands, perfume, little shirts, skirts, barrettes, purses, plastic toys, socks, crayons, stickers, coloring books, story books, stuffed animals, tiny little trinkets, slippers, naming just a FEW of the items in that store inventory.  It was a heaven housing just about anything a little girl could fancy who fancied kittys.  And my girls did!  Oh my goodness.  We needed lots of money!  I'm not sure how we made it out of the store that day, but we, along with the rest of the female population in the US in 1976, were never the same.

Fast forward to 2013.  Hello Kitty, full name Kitty White (キティ・ホワイト Kiti howaito), is the Japanese rendition of the Japanese Bobtail Cat.  She wears a red bow.  Or it might be pink, or black or red, or purple.   Sometimes it is a little flower.  She frequently holds a heart, or sometimes even has devil horns.  She earns more then $5 billion a year!  HELLO!!!


I wish I could render Hello Kitty in needlepoint, but I'm afraid I do not have the cash to obtain a license to do so.  I'm just chicken feed.  She is the Kitty God owned by a bazillionaire empire.  But I know what is possible.   Several months ago, I decided to create Hello Kitty fobs for addicted stitchers.   Yes, that is possible.  And yes..it's true.... needlepointers are addicts.  And some, if not a hugh majority of them, are also Crazy Cat Ladies.  The combo is as fun and happy group of women as I've ever seen.  (You know who you are!)  There may be some Hello Kitty man fans out there, but I have yet to meet one.  In fact, I've tried to introduce my husband to her, but he simply cannot 'get it.'  He cannot make the connection.   Heck, he can't even 'see' her!  But never mind him...I'm thrilled to know that some of you have already acquired my Hello Kitty creations.

I do not need a license to create fobs to sell in my product line of Barbara Elmore Designs.  I purchase beautiful and adorable Hello Kitty pieces encrusted with rhinestones.  This makes her all the more adorable.  We can pretend that they are diamonds.  Then I add strings of unique and beautiful beads, topped with a lobster claw to clamp onto one's precious stitching scissors.  Each one is individually made by me and is one of a kind.


Call them bling, jewelry for one's tools, or simply ID for one's scissors.  I love creating them, and I hope you will love them too.

Before I end my story of Hello Kitty~ Let me introduce you to two of my real life Hello Kitty Girls.
Here is my youngest daughter, all grown up, still loving kitties as much as ever!


Here is one of my little granddaughters.  She is precious, and as you can see, she is the REAL Hello Kitty! Do you doubt it?


  I love my girls so much!  I love needlepoint so much!  I love creating Hello Kitty Fobs so much!
  You can have your LNS (local needlepoint store) order the fobs from Sundance Designs.   Shop owners can see them in January at TNNA and place orders then, but you don't have to wait til then to get your very own.
                                     
                                                      Hello, and Goodbye for now~


Sunday, August 18, 2013

It Couldn't Have Been More Perfect!

Last Friday's mail brought me a gift from Kreinik!  I'm always thrilled to receive anything from the thread companies.  And I always use them in my work.  Sometimes, it will be a while before I have the right project that a thread would be a good match for, but I am always grateful to have a supply to choose from.  (I do live an hour+ away from the one remaining needlepoint store in Tucson.  sigh.)

Friday's arrival brought me 4 colors of Kreinik's new Wired Facets, a bead like metallic thread that can look like jewels or beads.  I received black, silver, gold and pearl.  Factes resembles a Bullion, Frieze or Jaceron real metal thread.  The beauty of the added wire is that it can be shaped and couched to the surface of your canvas.  It can also be plunged into a canvas hole.


Receiving it when I did was perfect timing.  I was finishing up "Coyote in the Afternoon," a piece I'm scheduled to teach at EGA's National Seminar,  Oct. 18-24, 2014, Dreams and Legends, to be held in Phoenix, AZ.

Coyote is a fine art piece painted by Prescott, AZ artist Carolyn Schmitz.  She gave me permission to render her fabulous painting in a needleworked mixed media, combining various materials and techniques. 


Oh, how I loved working on this piece!  Being a Southern AZ girl my whole life, I've seen everything she depicted:  all the animals (There are two in the piece, the coyote being one of them.  Can you find the other?) and all the various plant life.  As a child, I played with mesquite beans, and I've eaten them too, then, and more recently. They are quite nutritious and sweet tasting.  Coyote wears them as decoration, but I suspect she might nibble on the one next to her mouth. 

I loved re-creating the creosote seeds she wears around her neck.  As a child, I played with those too, found their fuzziness compelling like tiny teddy bears.   And I will never tire of the smell of wet creosote after a summer rain!  It takes me right back to the big bush in my childhood yard, where we played in the dirt under it's shade, and harvested the fuzzy seeds and tiny yellow flowers for our doll houses.

But back to the Facets.  The last thing I had to do before taking my piece into town tomorrow to be framed, was to create the Checkered Skipper Butterfly 'pendant' that adorns the creosote seed necklace.  The wings are stitched individually on fabric using a stump work technique, (Thank you Jane Nicolas for enriching my life with your work!) and attached to the canvas.  They are embellished with Sundance size 14 seed and hex beads.  The body is created with the Black Facets thread, which could not have been more perfect to use!  So, perfect timing, perfect thread, perfect application!


Be on the look out for this great new product in your LNS.  You don't have to wait til 2014 to use it ya know!


Tuesday, July 30, 2013

Snowball and Midnight~

Hi again,

I don't know what happened.  One day I needed to write a new blog post, and I just could not do it.  Nothing came to mind that I felt I could write about.  I thought, "Something will inspire me, and then I'll write."  Nothing did.  For 4+months!  Rather embarrassing for someone committed to writing a blog and maintaining at least some degree of interest for my readers!  Readers, if you are still there, I do apologize!

In my own defense, I have been overwhelmed with the amount of canvas orders I've had to paint, plus writing stitch guides, teaching classes, doing some finishing for shops, and dealing with family and life on top of that.  But, an interesting thing happened today to break my cycle of 'overwhelmedness.' 

A long time friend that I became re-united with on FaceBook sent me a photograph.   So, herein begins my blog post.

Once upon a time, many, many years ago, circa 1983 or 1984, when I lived another life, when I had 4 growing children in my home, when I was living in the beautiful state of Oklahoma, when I was active with Extension Homemakers, church activities and service, and all sorts of things like sewing clothes, and baking homemade bread from scratch, canning vegetables and fruits, etc....I made and gave a gift to my dear friend whose name was also Barbara Elmore!

Barbara Elmore was one of the first people to reach out to me when I arrived in the small college town 70 miles due East of Oklahoma City.   I'll never forget:  she called me up one day, and introduced herself to me because we had something in common; our names!  Turns out we also had daughters the same age.  In no time, we became good friends, and so did our daughters!

Barbara Elmore, (this was her maiden name, BTW.  She was married to a fine man, a college professor..a microbiologist, also talented home builder and carpenter!) was also a very talented piano teacher in the area, with the best, most infectious laugh I've ever heard!  Soon my eldest daughter and son were taking lessons from Barbara.  They loved her and to this day, they speak fondly of her and the lessons they took. 

I was always captivated by a scene that I witnessed every time I went to her home when our girls sat down at the piano to play together.   Thus, the gift I gave to Barbara Elmore was created.

At that time, I had not even heard of painted needlepoint canvases.  That would come in 1985 when I moved back to Tucson.  But in those days, I did some simple needlepoint on plastic with the kids, and did a few odd  strange things using thick yarn and penelope brown canvas.  I  found it boring and not compelling.   But, I did love to sew on my sewing machine, and did love to create appliqued decorative pieces. 


Is this not the dearest scene ever?  Snowball, the family's big fluffy cat, was always seated between the two girls, always part of every performance!  I think Snowball preferred classical music, if you were to ask me, but she seemed to enjoy all genres!  Barbara tells me Snowball was part of every child's piano lesson that she ever taught, during that beloved pet's lifetime!

Seeing this fluffy white cat again made me smile at the juxtaposition of my latest cat creation.  This cat is not sweet...is not white, probably hates beautiful music, but it is soft and fluffy to the touch.  (If you dared venture close enough to touch it! Yikes!)  The fur is needle felted from pure wool roving.  This cat is dark as midnight.  This cat is called Ghost Cat, and hovers in the night sky as witches fly across the moon, reflected in her/his golden eyes! 


I enjoyed teaching Ghost Cat, part 1 at BeStitched in Scottsdale.  I'm so looking forward to teaching part 2..the painted mat border, also at BeStitched.  That class is scheduled for Saturday, Aug. 10th, 2013.  It is not too late to join the fun.  Each part can be stitched separately and 'long distance' classes are available if you can't attend in person.   

Snowball and the Midnight Ghost Cat.....I wonder if they are best friends in Cat Heaven?  Or if they have at least, discussed their common heritage?  LOL~~~ I can hear Barbara Elmore's laughter  pealing in the background!

Friday, March 8, 2013

What's Up in April!

Well, how is it possible that this is March 8th ALREADY?!!!  I must put on my St. Patrick's Day shoes and get busy preparing for my next Sparkles Workshop and upcoming Sculptural Pumpkin class at Nashville Needleworks in Nashville, TN...April 19th--21st! 


This will be my second time to teach the mysteries of that mysterious material in a class format, known in the needlepoint world as Sparkles, from Sundance Designs.  It is a tubular, metallic/nylon confection that comes in 27 colors.  (Although, sadly, only 26 are currently available.  One is on back order until mid summer.)  The kit will contain 1 yd of each available color, some Sundance sequins and beads, and 3 canvases with painted designs by me, on which to apply Sparkles. 


Let me just tell you that this material is a "party" on your canvas!  You are only limited in it's use by your own imagination.  I hope you will let me show you how to use it in this class, but hurry and sign up quickly because Time's A'waste'n!!  Call Emily or Lisa at Nashville Needleworks and have them sign you up!

The other class I am excited to teach  at Nashville Needleworks is the Sculptural Pumpkin. 


This project is designed to be stitched ' on the run', without stretcher bars, if desired.   The idea is that you can stitch one section at a time while sitting at the doctor's office, waiting at a red light, or standing in line at the grocery check out!  Seriously now...ya'll already do that, don't you, with portable projects?

Each panel features different stitch patterns, a variety of threads, beads, sequins, crystals, some unusual ribbon work techniques, and the use of memory thread. And, the project offers new and unusual techniques that are fun and beautiful!

The crows that have claimed residence in this pumpkin are not part of the project.  I advise you to obtain your own set of black crows to make this, otherwise very elegant pumpkin, a bit spooky!  Or you can insert dried or silk fall foliage or flowers, to spill out on the sides.  This tabletop decoration will transition from Halloween through Thanksgiving with ease, saving you the angst of deciding what to put on your coffee table or sideboard with the change of holidays!  Who doesn't like Easy?

I look forward to meeting some of you at Nashville Needleworks in mid April.   But remember...sign up soon or....snooze, you lose!